
DIY: Computer Chair Refresh
So, funny story. I bought fabric to reupholster my very comfy but very ugly computer chair a whiiile ago and just put it off. Then, the basement reno happened, and the wheels on it were scratching up our brand new floor, so I bought replacement casters and all was well, back to ignoring my project plans.
A few weeks later, I was playing video games (Modern Warfare, if you're curious) and mid-match, tragedy struck: the height of the new casters and flimsiness of the plastic chair base led to one of the wheel arms snapping and me falling out of my chair:
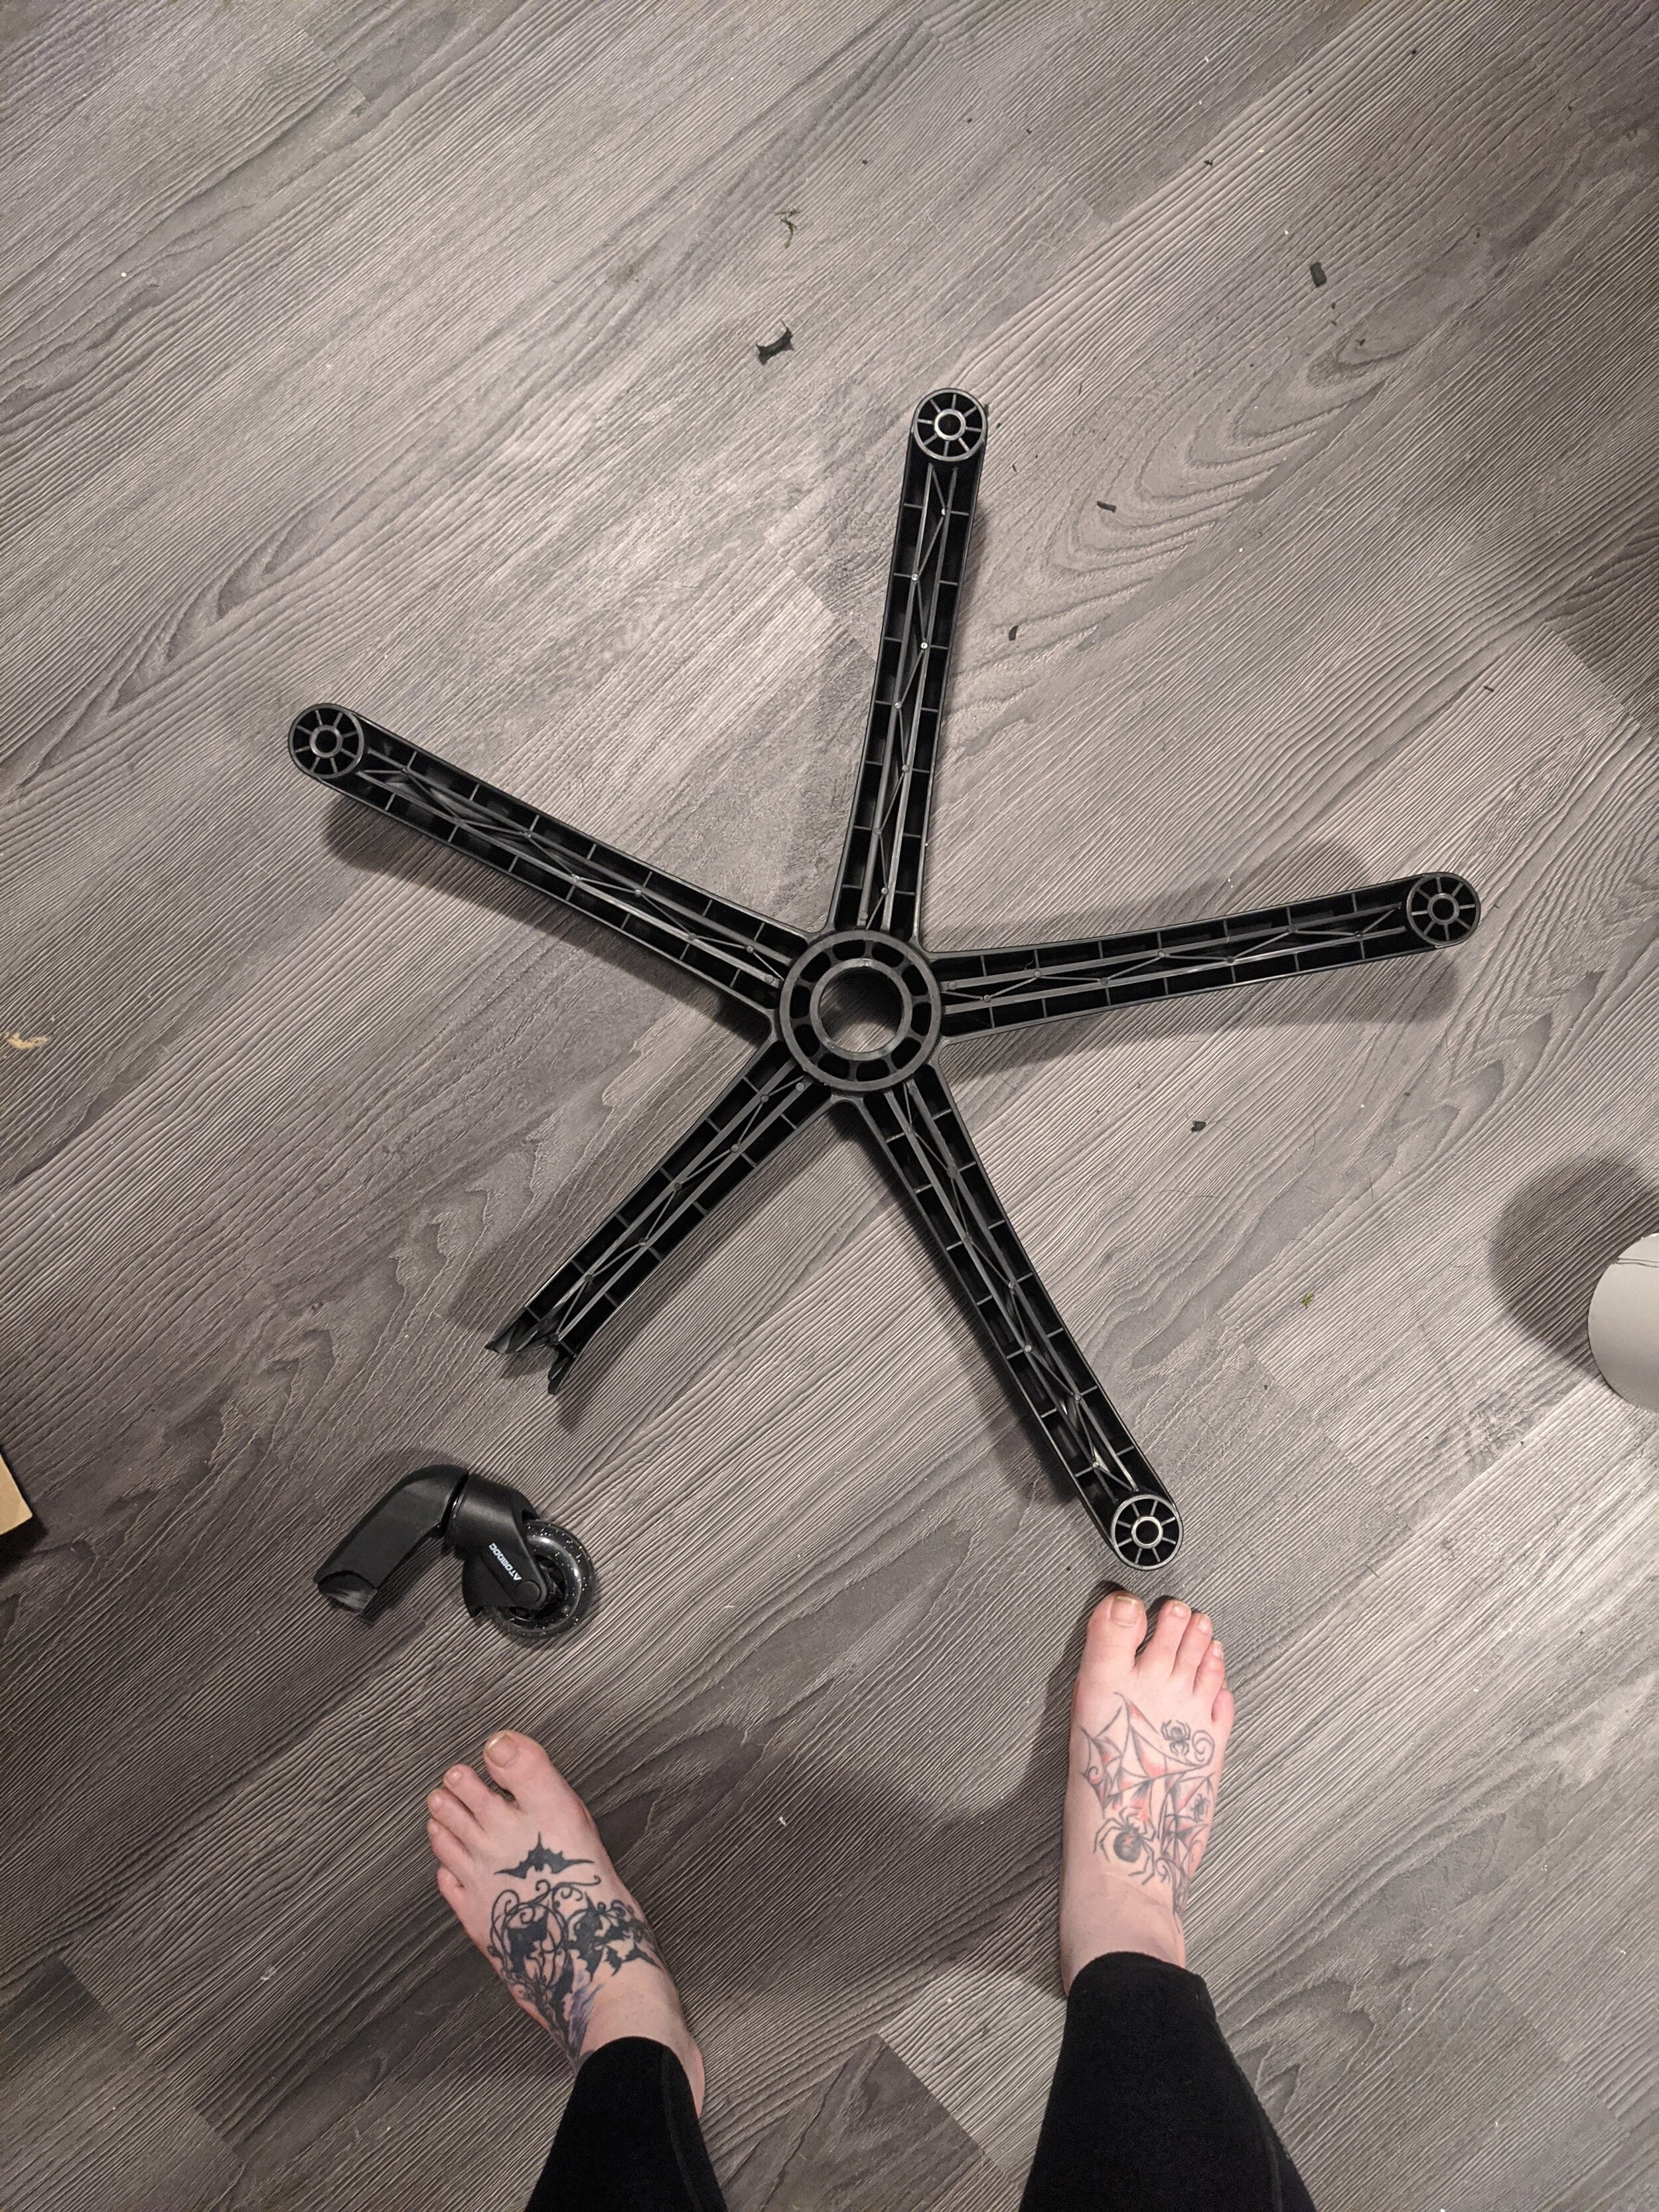
Instead of getting mad, I decided it was ~*the universe*~ yelling at me to fix and reupholster the chair, so I ordered a new base and got to work.
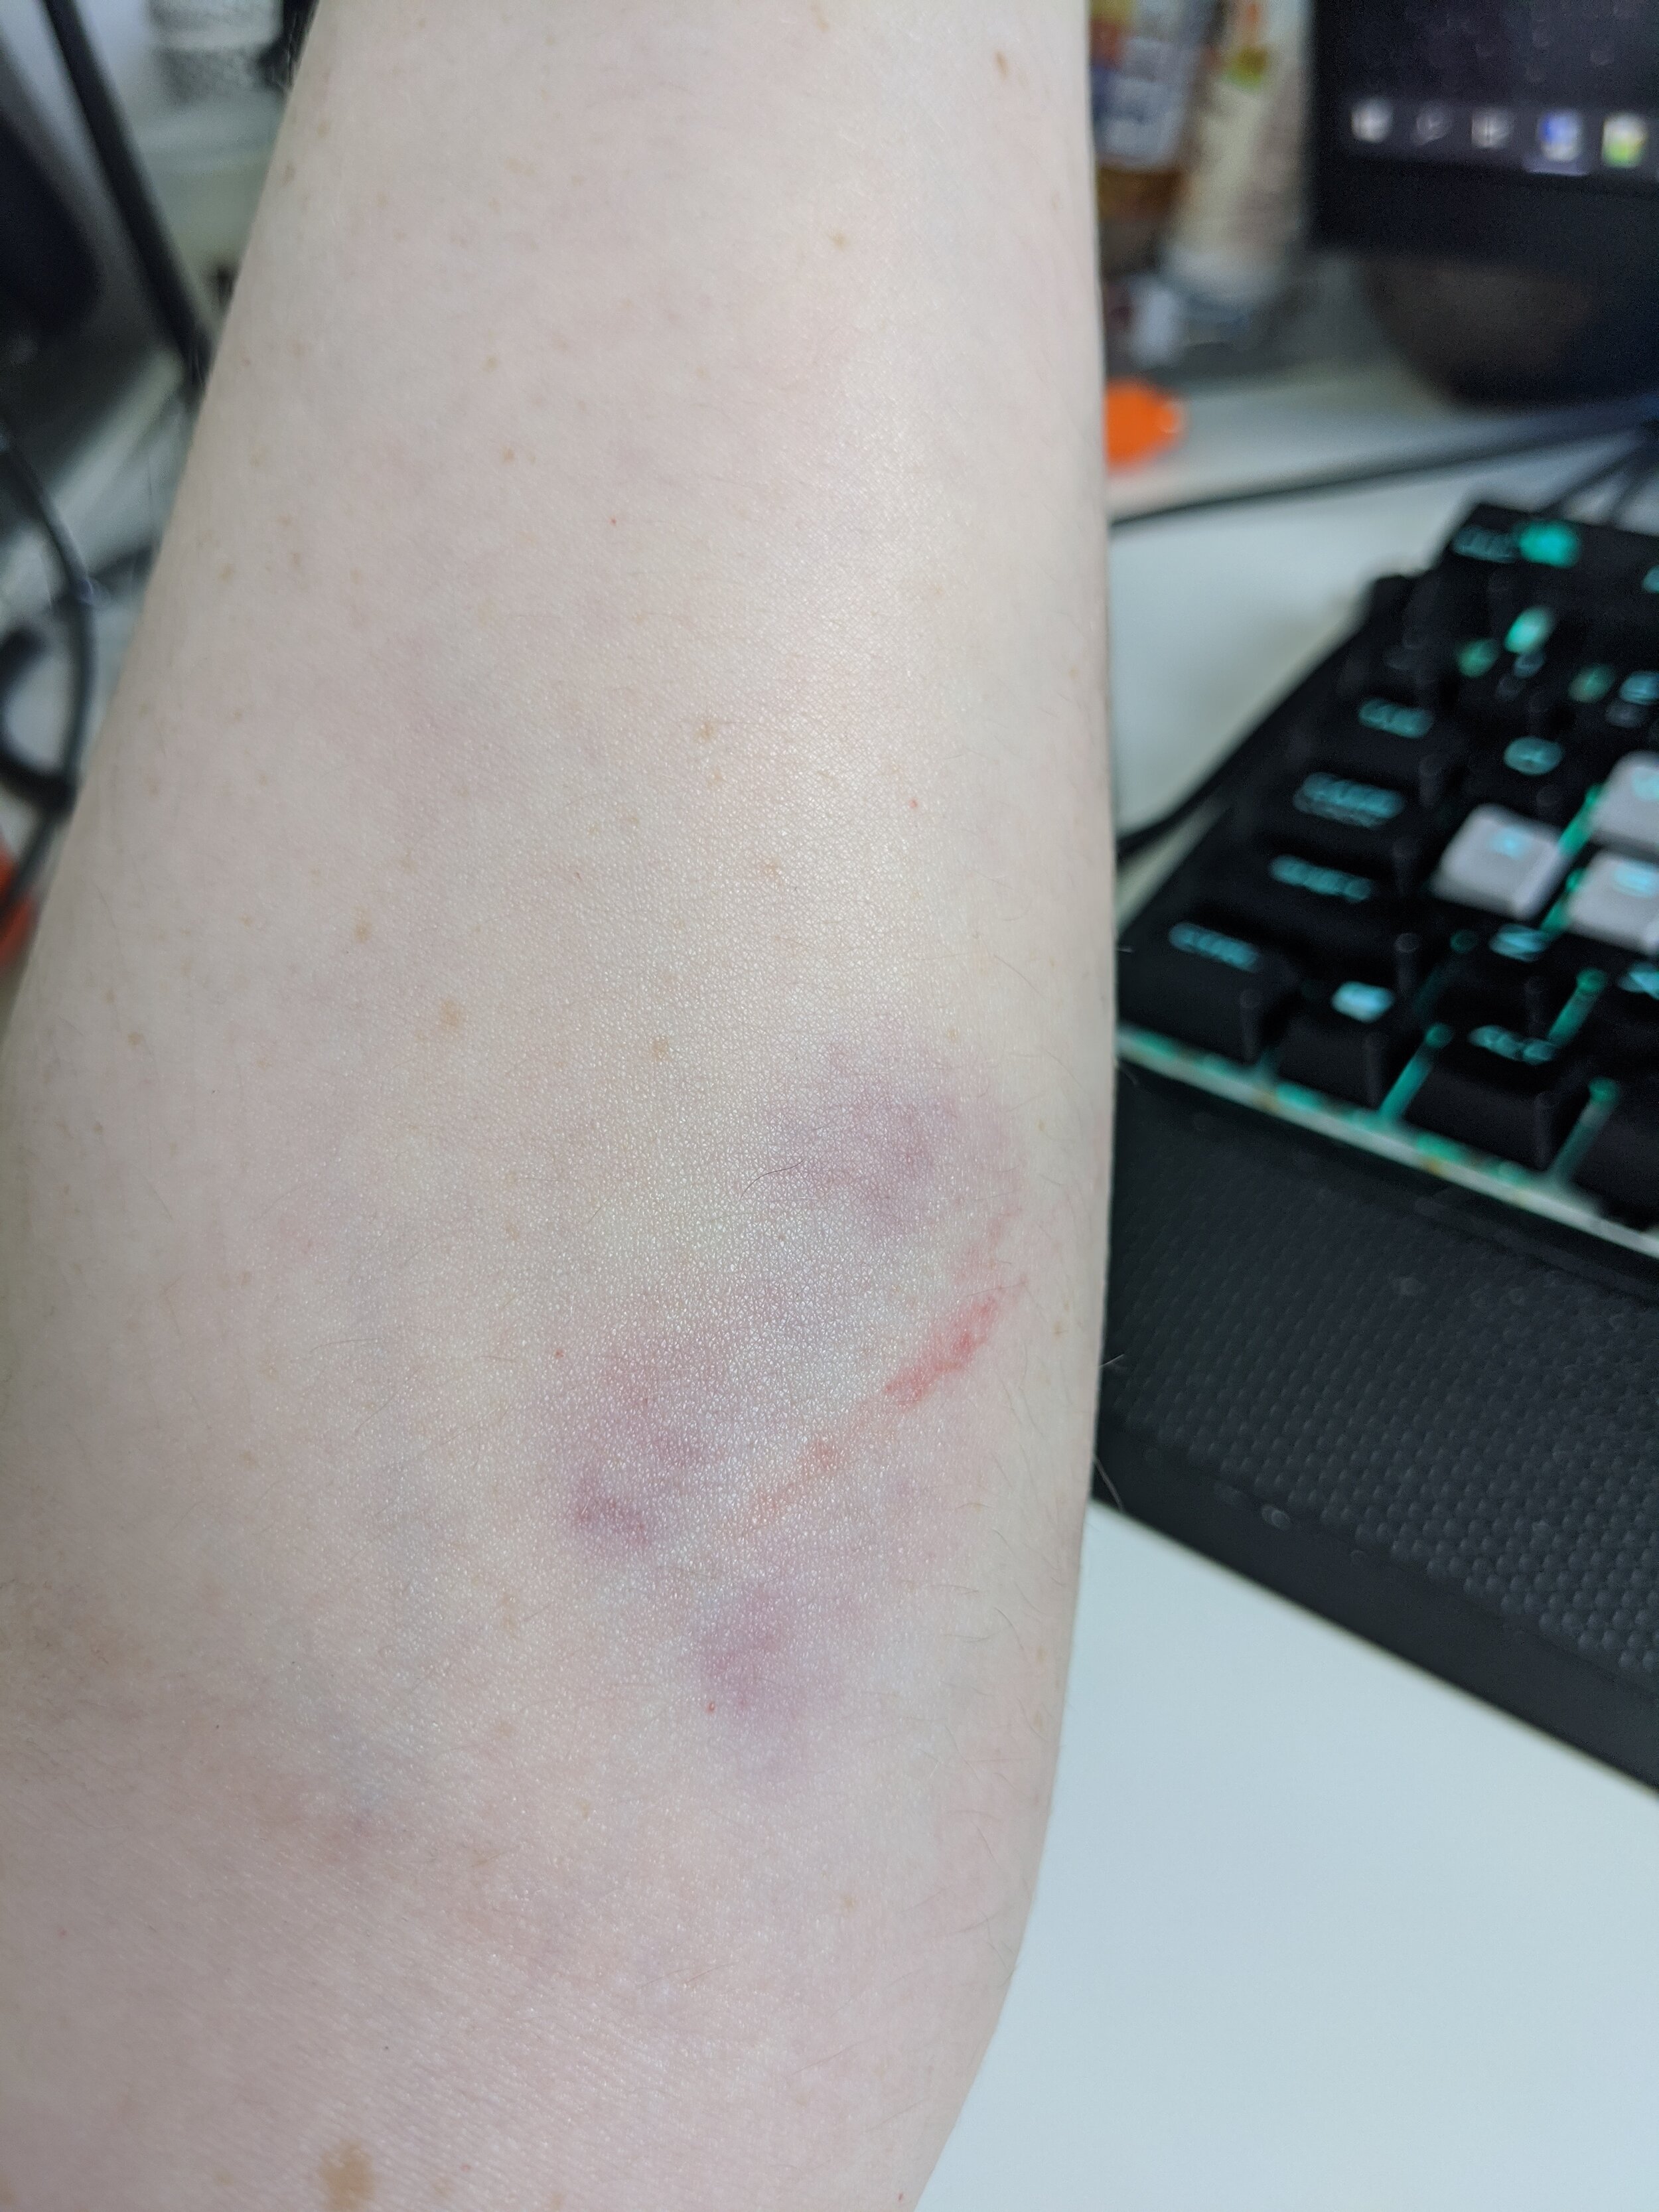
I removed the bottom assembly, removed the arms, and then spent the next three hours pulling out staples to finally get a naked chair! Seriously, this thing had at least a hundred staples in it, and that's not an overestimation.


I carefully seam ripped the pieces and labeled them. To use them as pattern pieces, I pinned them to the fabric. Right side of the old to the wrong side of the new. I then carefully cut the new fabric at the edge of the old. The pattern cutting process is super cathartic to me, and I have no idea why, really.
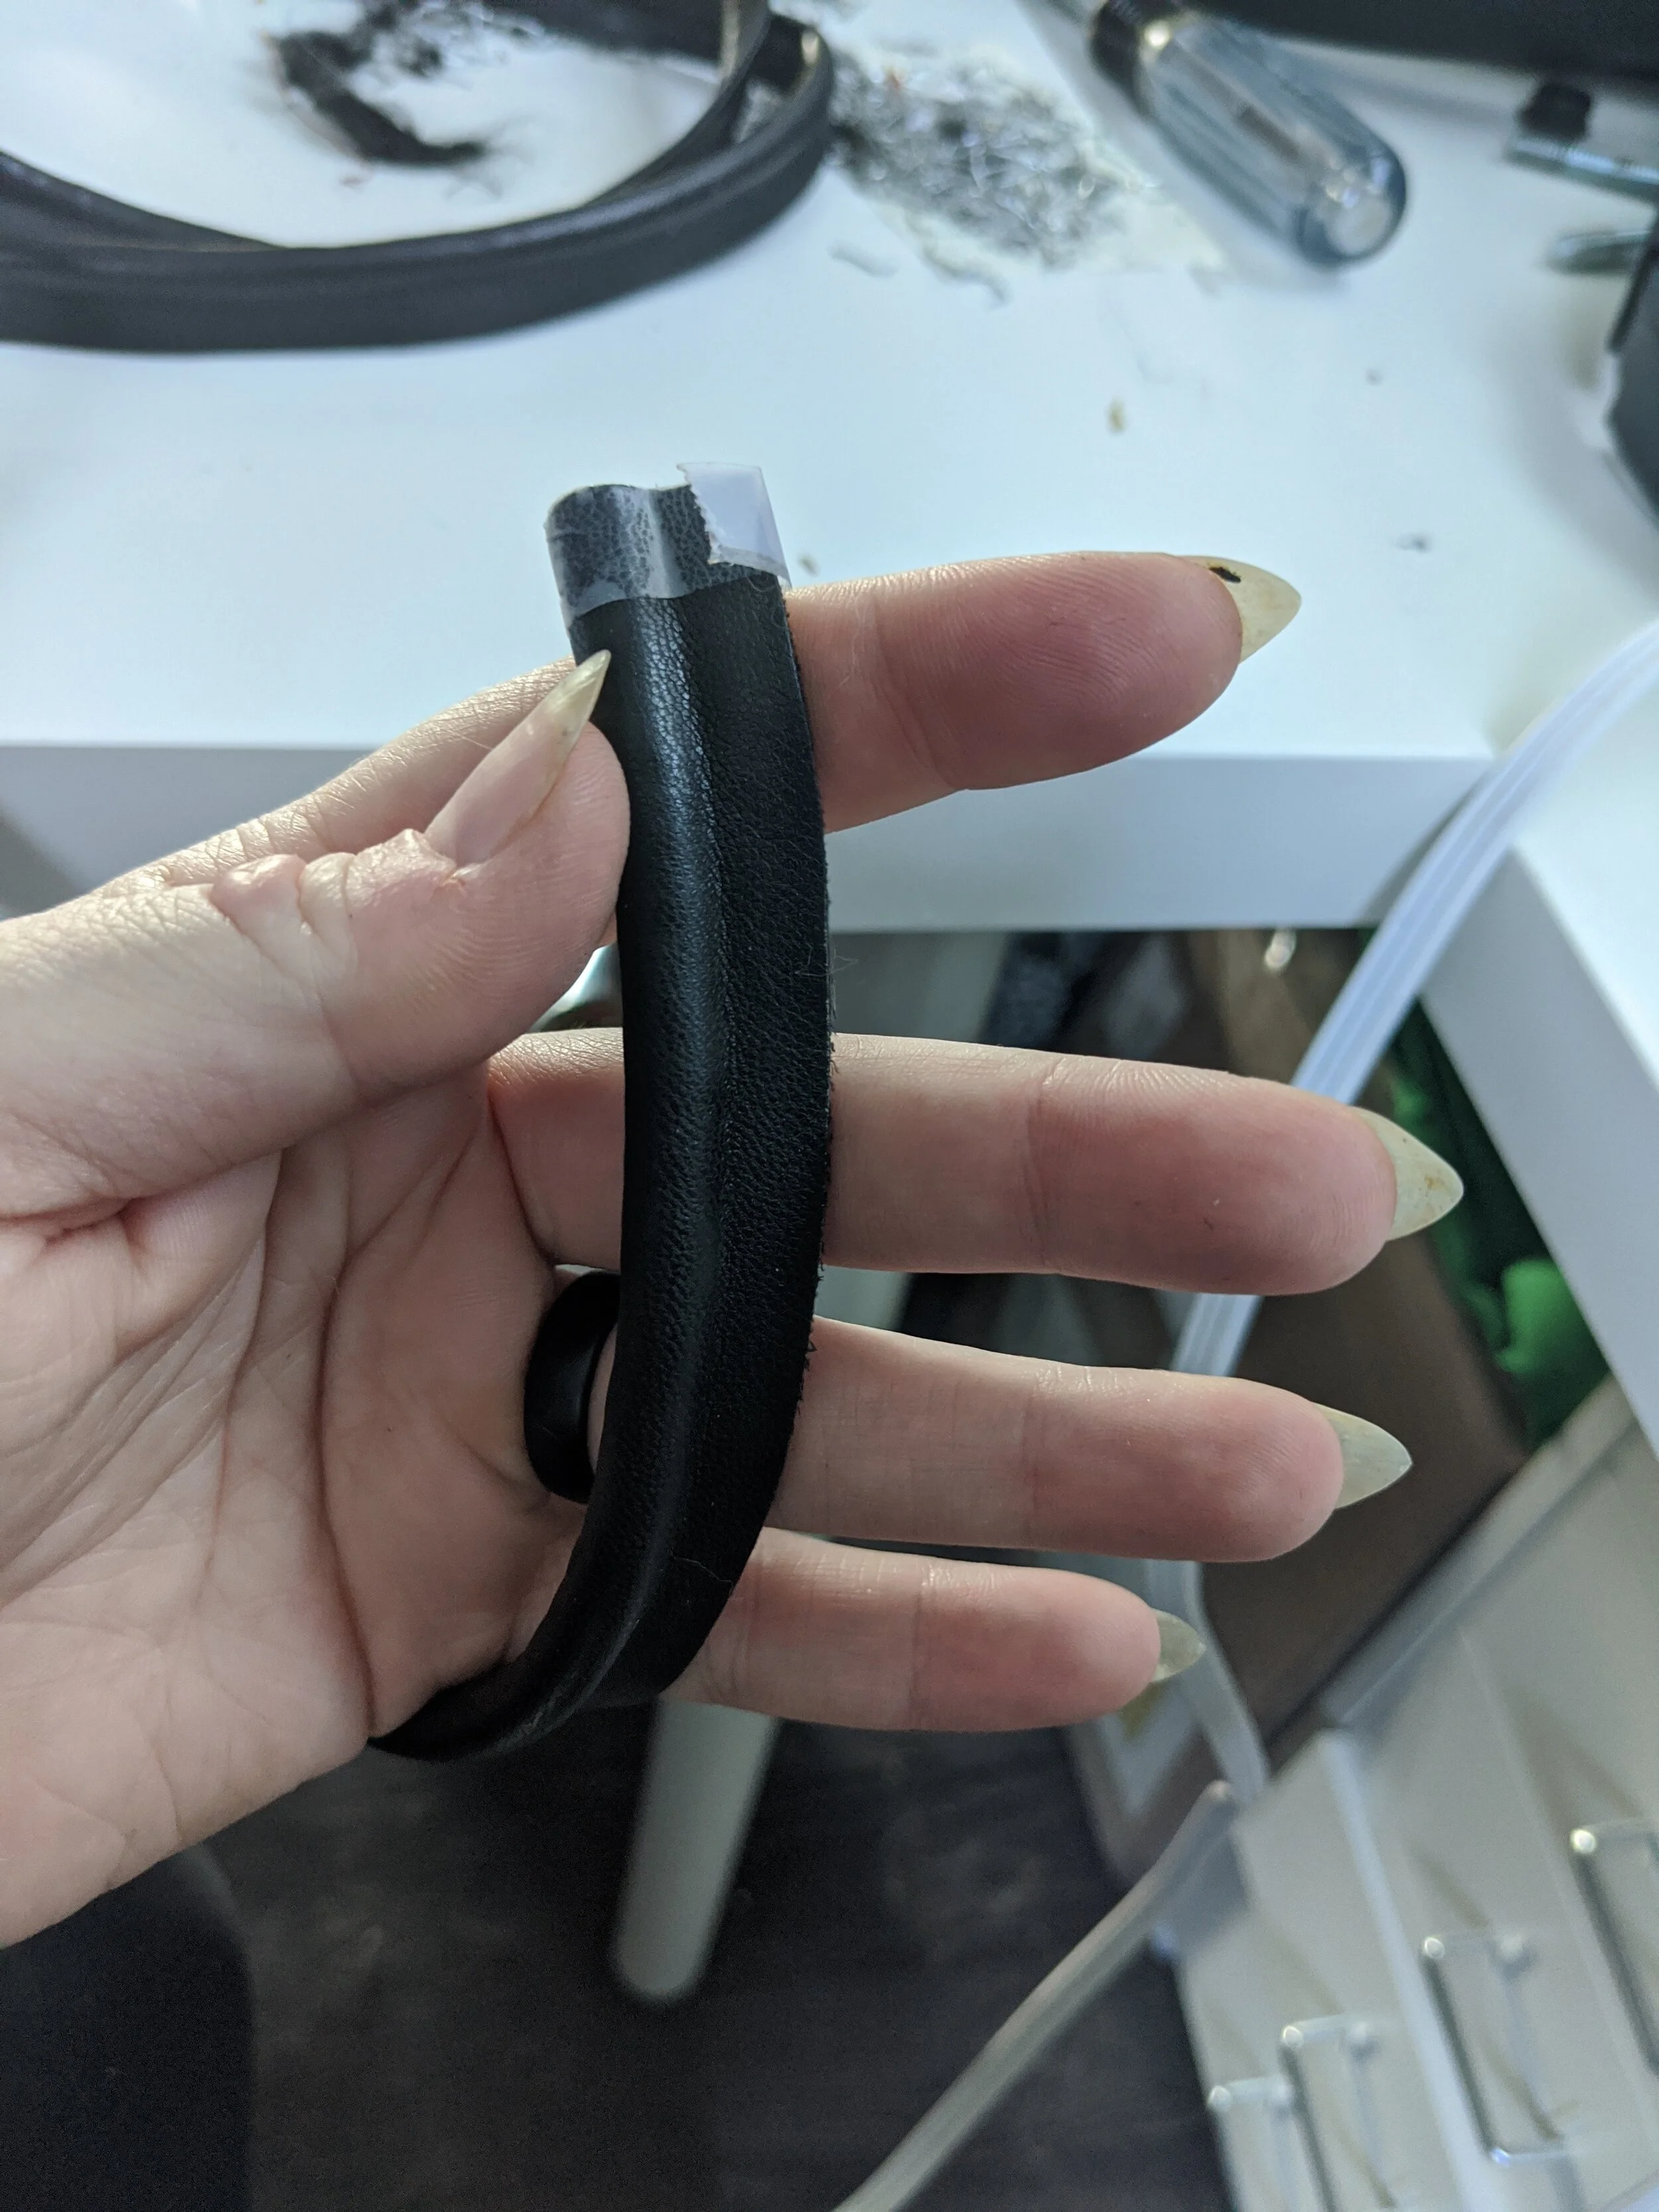
The old chair had matching piping, but I do not have the patience to make my own piping. Plus, I felt like contrast would do some good. I dug through my stash and found this faux leather cord trim. I matched up the lengths and cut.


Once everything is cut, I pinned things together, and then realized that it's much easier/smarter to use quilting clips with any kind of leather.
It's a good idea to turn the piece right side out to make sure everything looks right (and to hopefully get excited about the way things look together).
Then time to sew! I realized after sewing the seat that this hearty boi is probably better for upholstery. Also, I find it easiest to sew piping with a zipper foot.


After everything was sewn, I fit the pieces back onto the chair, in the opposite order that I removed them.
Now the difficult part. I have a pneumatic stapler but a hand stapler will work too. Starting at the back of the seat, I pulled the fabric tight and stapled into the wood. I then repeated at the front, and then the sides. I did the same for the top piece that overlaps the stapled piece on the bottom. Not pictured, but I reused the black fabric that was covering the bottom to recover it, since it matched, was in good condition, and already had the holes for the base.


Once the new base (solid metal this time, heh) arrived, I put the casters into it and reassembled the chair. And that's it! I'm elated at how it looks.


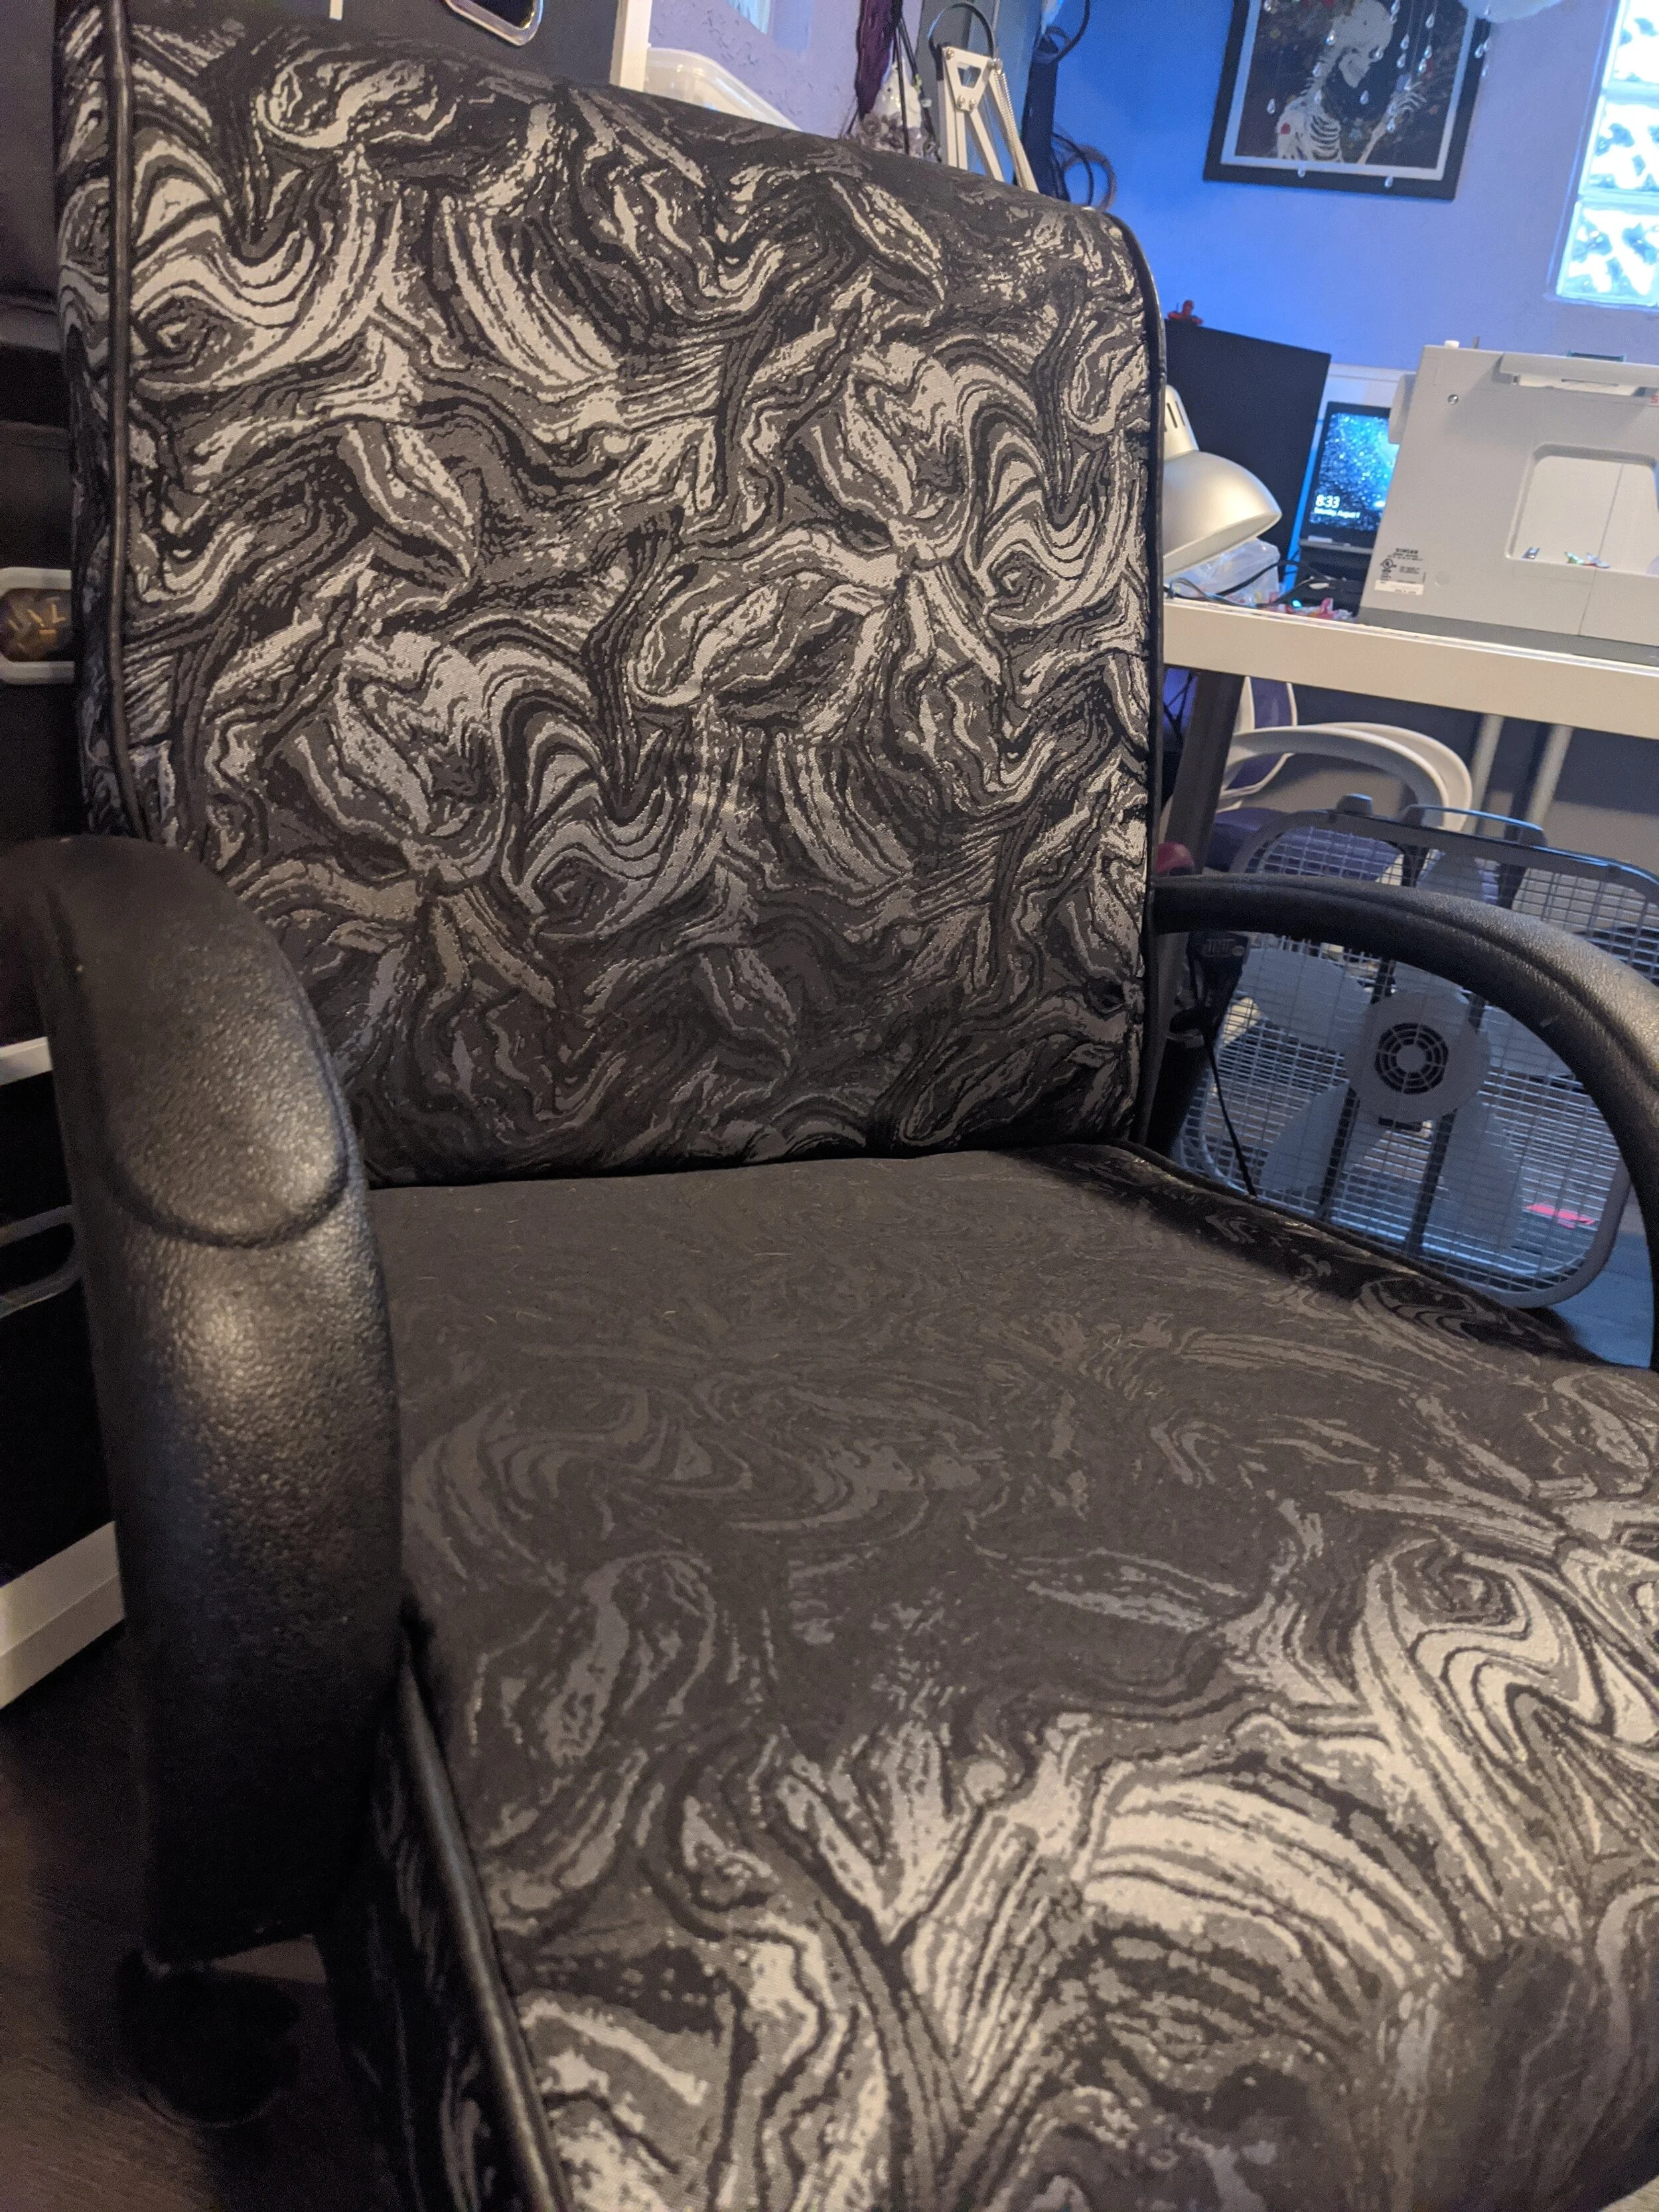

So what do you think? Do you think the new fabric is way better than that dusty orange tweed?
List of everything I used:
Stapler/Compressor kit (or manual staple gun)
Note: none of these are affiliate links, but if you'd like, you can donate to me directly, ha.